11 DIY Weekend Projects That Require Midrange Skills

If you're a homeowner or a renter ready to breathe new life into your space, you're just one weekend away from a meaningful upgrade. The secret? Moderate-skill DIY projects that are fast, affordable, and seriously stylish.
At Van Dyke's Restorers, we carry the hard-to-find decorative and functional pieces that make every room feel complete. From peel & stick wallpaper to antique-inspired shutter hardware. Whether you're refreshing a room or restoring vintage charm, here are 11 projects that can be tackled in a weekend or less with just a few tools, a little time, and a lot of impact.
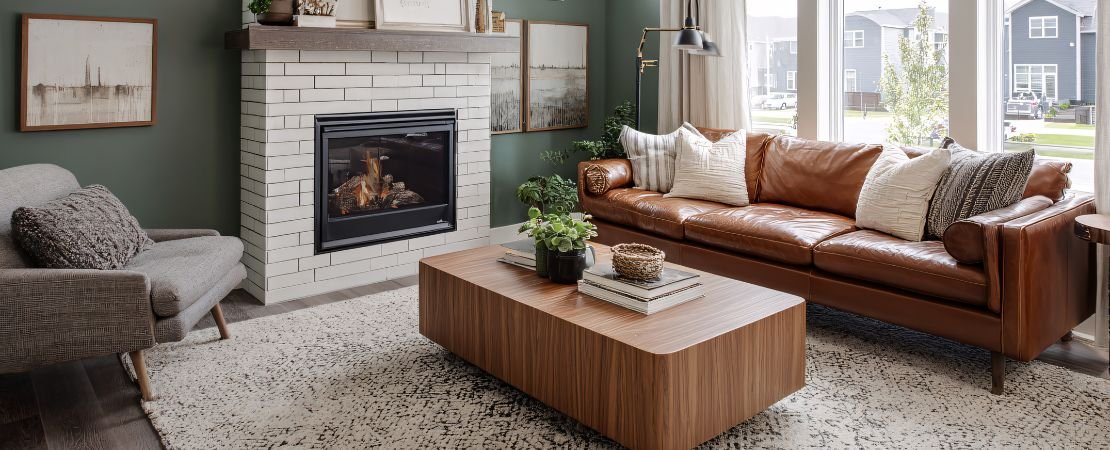
1. Add Bun Feet to Furniture for an Instant Style Upgrade
Swapping out furniture feet is one of those little tricks that never gets old. A plain dresser suddenly feels custom, a sagging sofa sits proud again, and an IKEA cabinet looks like it came from a boutique. Bun feet, tapered legs, Queen Anne styles, they're all simple to install and they completely change the attitude of a piece. If you've got an afternoon, you've got time to give your furniture a whole new personality.
Tools & Skills:
- Screwdriver or drill
- Wood glue (optional)
- Basic measuring tape
- Skill Level: Moderate (no cutting required)
Where to Use:
Transform a plain IKEA cabinet, sofa, or dresser by adding bun feet to lift the piece off the ground. Perfect for living rooms, entryways, or bedrooms.
How to Install:
- Flip the furniture over and mark placement.
- Pre-drill holes if your bun feet use hanger bolts or T-nuts.
- Screw in the bun feet tightly.
- Optional: Use a base plate for added support.
Why It Works:
Bun feet enhance more than just the furniture, they add traditional or farmhouse charm with very little effort.
Myth Busted: Yes, you can add bun feet to modern flat-pack furniture. Just check that the base is solid enough to hold screws.
SHOP FURNITURE FEET & LEGS AT CAN DYKE'S
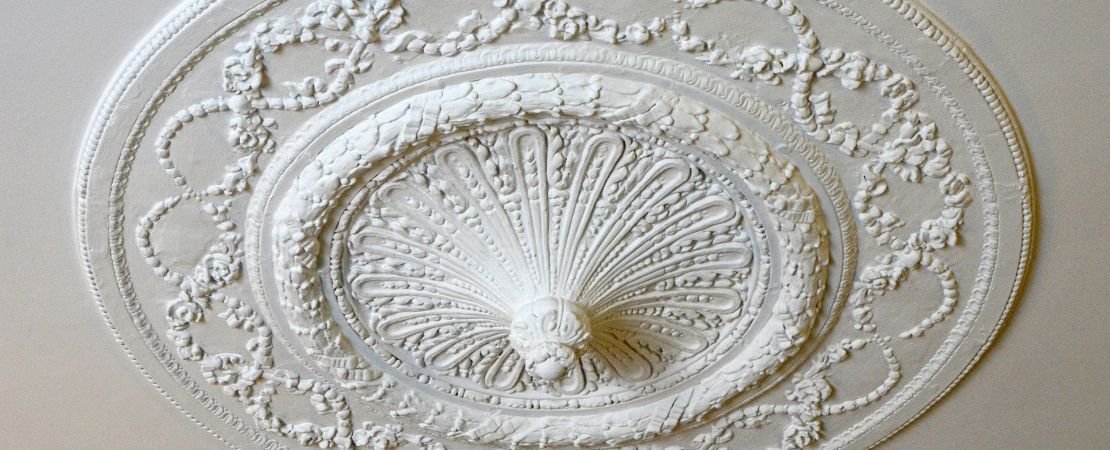
2. Install a Ceiling Medallion for a Touch of Elegance
I've seen plenty of "builder basic" light fixtures look like a million bucks just by adding a ceiling medallion. It's an easy win: the medallion covers imperfections around the junction box, glues up quickly, and gives instant architectural character. Paint it to match your ceiling, or contrast it for drama. Either way, it makes your ceiling feel finished, not forgotten.
Tools & Skills:
- Caulk gun
- Construction adhesive
- Utility knife
- Paint (optional)
Where to Use:
Living rooms, dining rooms, bedrooms, or anywhere you have a ceiling light fixture or fan.
How to Install:
- Turn off electricity.
- Remove fixture and center medallion around junction box.
- Apply adhesive to back and press into place.
- Secure with finish nails or screws.
- Reinstall fixture and caulk around edges.
Why It Works:
Ceiling medallions add instant architectural interest. They're lightweight, easy to paint, and come in a variety of styles from vintage to contemporary.
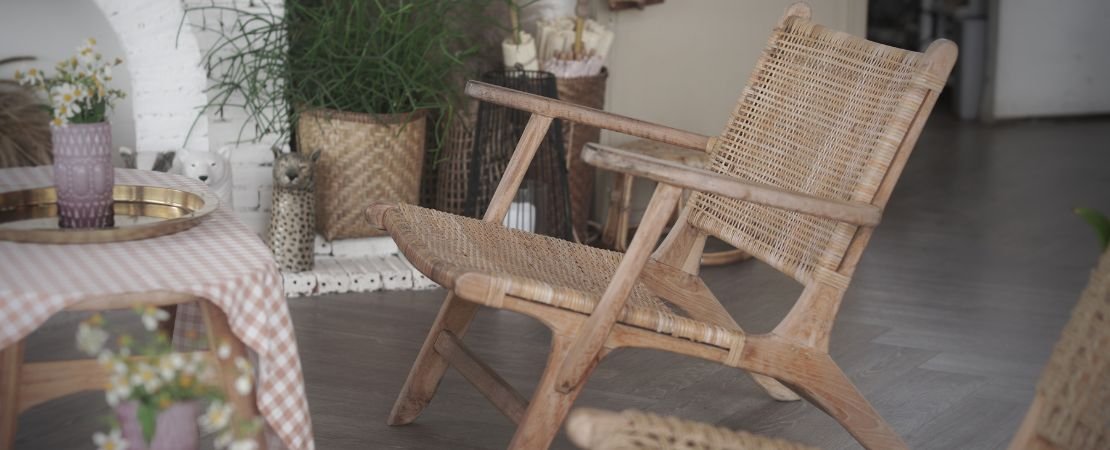
3. Chair Caning Repair or Refresh
Most folks see a busted cane chair and think it's headed for the curb. I see a weekend project. Pre-woven cane webbing makes the process approachable, and once you've got the hang of soaking, trimming, and splining, you'll wonder why you didn't try it sooner. Not only do you save a piece of furniture, but you also bring back that airy, handcrafted texture that looks good in any room.
Tools & Skills:
- Cane webbing
- Wood glue
- Scissors
- Wood chisel or utility knife
Where to Use:
Dining chairs, rocking chairs, benches
How to Install:
- Soak cane webbing in warm water.
- Remove old cane and clean groove.
- Insert cane webbing into groove and glue in place.
- Trim excess and secure with spline.
Why It Works:
Chair caning brings craftsmanship back into the home and saves beloved heirlooms. A fresh cane seat adds texture and lightness to a room.
SHOP RATTAN PANELS
4. Corbels as Decorative Supports or Floating Shelf Brackets
Corbels are like punctuation marks for a room. They add emphasis where you need it. Tucked under a kitchen island overhang, holding up open shelves, or framing a mantel, they instantly give depth and craftsmanship to flat surfaces. Install them right and they’ll do the heavy lifting too, combining utility with a little old-world charm.
And when you're adding wood details, don't forget Capitals, Pilasters, and Columns to trim your doors, windows, fireplaces, and more.
Tools & Skills:
- Drill
- Level
- Screws and wall anchors
Where to Use: Kitchen islands, entryways, open shelving, under countertops
How to Install:
- Mark placement with level.
- Drill into wall studs or use strong anchors.
- Mount corbels with screws through predrilled holes.
Why It Works: Corbels provide visual weight and architectural charm. Use them as functional shelf supports or as decorative elements under mantels.
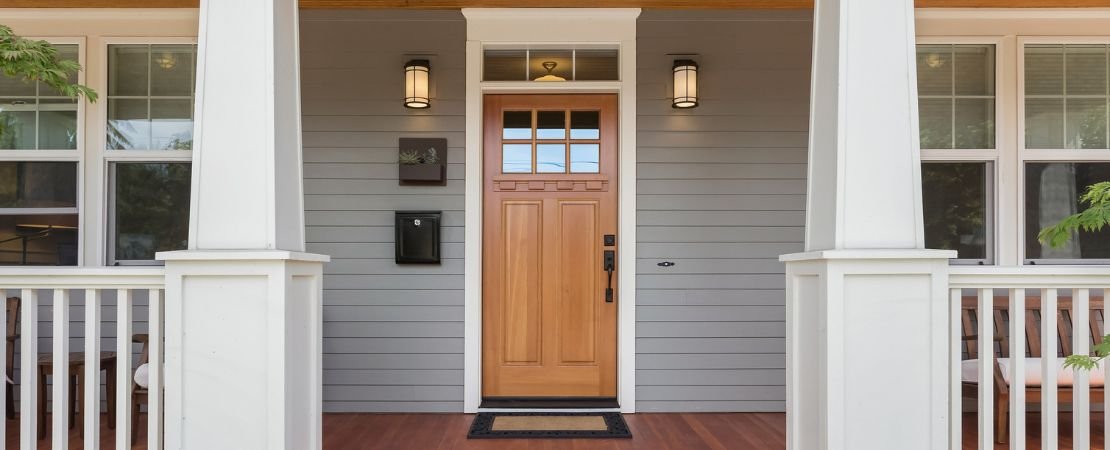
5. Upgrade Door Sets and Hinges
If you've never swapped out a door set, you're in for a surprise. The feel of a solid knob and smooth hinges is night and day compared to the wobbly, squeaky builders’ hardware most of us live with. Good hardware changes how a door sounds and feels. It’s not complicated work, but the daily payoff is huge.
Tools & Skills:
- Screwdriver or drill
- Chisel (optional)
- Patience and precision
Where to Use: Bedrooms, closets, bathrooms
How to Install:
- Remove old hardware.
- Align and install new hinges and knobs.
- Adjust latch plates as needed.
Why It Works: New period-specific door sets and hinges can revive historic character or bring a modern twist to builder-grade interiors.
Renter Tip: Keep the original hardware and reinstall when you move out.
SHOP DOOR SETS
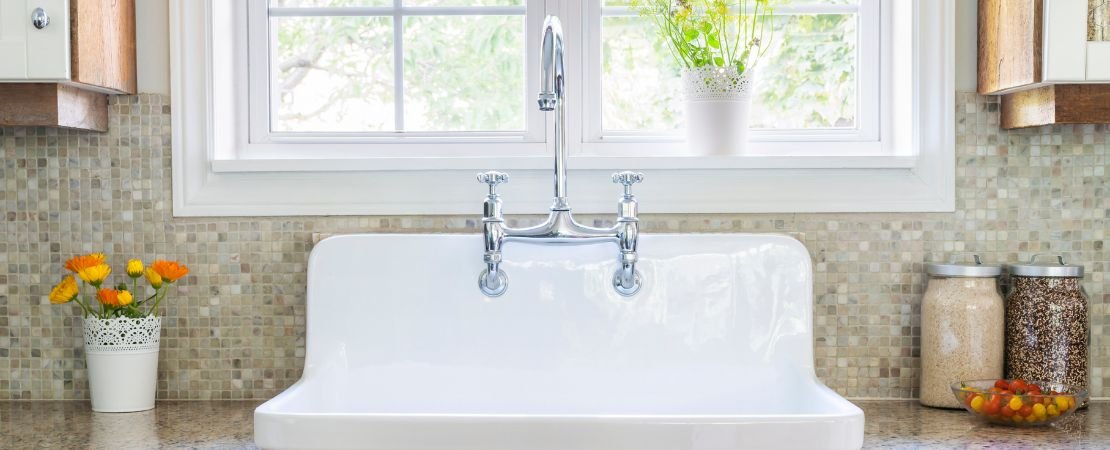
6. Install a Stylish New Faucet
A faucet upgrade is one of those projects where function and style come together. A kitchen faucet or bathroom faucet is more than plumbing, it’s the centerpiece of the sink. Replacing one takes a little patience (and a basin wrench), but it’s the kind of project that immediately makes a bathroom or kitchen feel new. Go vintage with a bridge faucet, or modern with a tall arc and sprayer. Either way, you’ll appreciate the upgrade each time you turn on the tap.
Tools & Skills:
- Basin wrench
- Adjustable wrench
- Plumber's tape
Where to Use: Kitchen and bathroom sinks
How to Install:
- Shut off water.
- Disconnect old faucet and remove.
- Set new faucet in place and connect water lines.
Why It Works: A faucet is a focal point. Choose a vintage bridge faucet or sleek gooseneck to instantly refresh your vanity or sink area.
EXPLORE TUB FAUCET STYLES
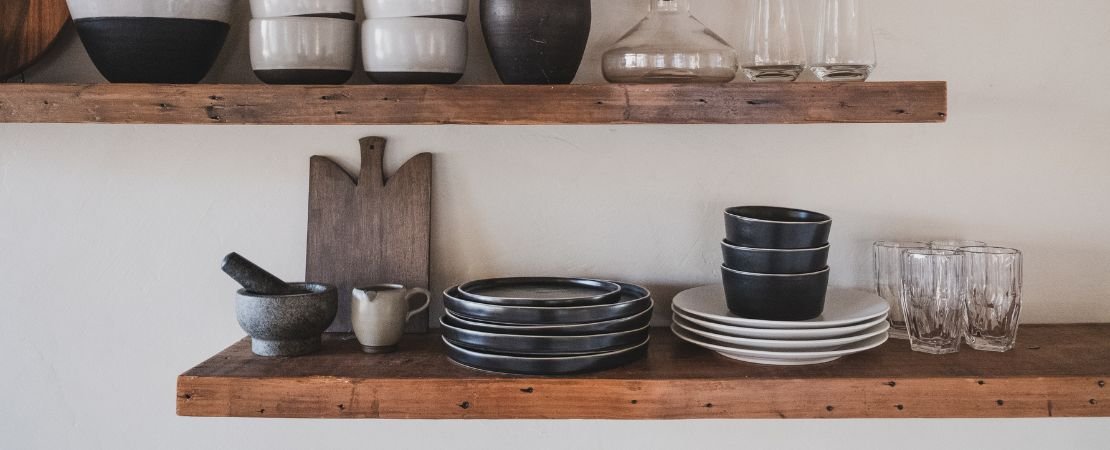
7. Floating Shelves for Storage and Style
If you’re short on space, floating shelves are a welcome addition. They don’t eat up floor space, they make walls useful, and they’re a blank canvas for showing off plants, art, or whatever you collect. The trick is getting them level and anchored into studs. After that, they’re rock solid and ready to work.
Tools & Skills:
- Level
- Stud finder
- Drill and anchors
Where to Use: Bathrooms, kitchens, home offices
How to Install:
- Mark studs or use wall anchors.
- Mount brackets or backplate.
- Slide shelf into place and secure.
Why It Works: Floating shelves create vertical storage and allow you to display your personality with art, plants, and more.
BROWSE FLOATING SHELVES

8. Furniture or Antique Repair with New Hardware
Nothing dates a piece faster than worn-out hardware, and nothing revives it faster than a fresh set of knobs or pulls. It’s like putting new laces on your favorite boots. Suddenly the whole thing feels sharp again. The swap takes minutes and the payoff is a piece that looks like it belongs in a designer showroom.
Tools & Skills:
- Screwdriver
- Wood filler (if needed)
- Glue for loose joints
Where to Use: Dressers, nightstands, cabinets
How to Install:
- Remove worn or broken hardware.
- Fill holes if changing pull size.
- Install new knobs or handles.
Why It Works: Hardware is the jewelry of your furniture. Glass knobs, brass pulls, or porcelain handles can make even a thrifted piece feel designer.
BROWSE FURNITURE HARDWARE
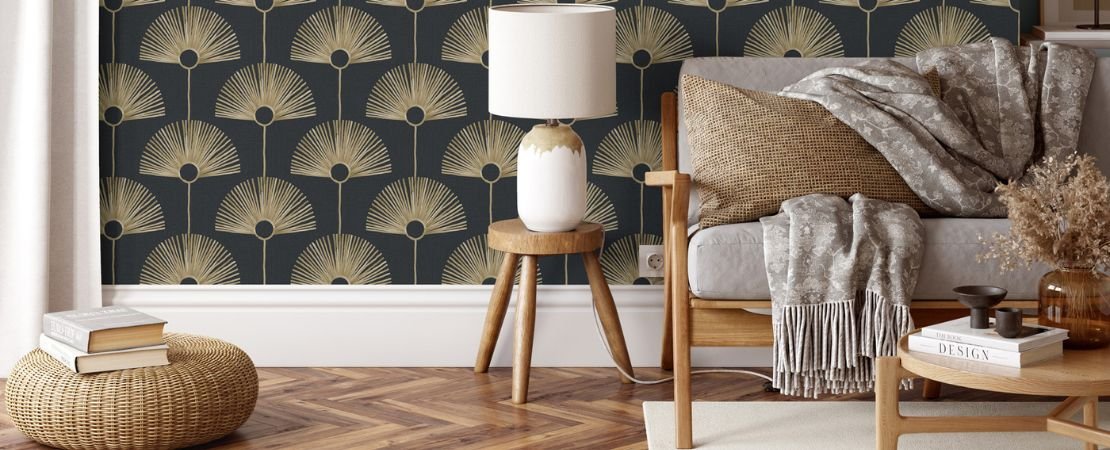
9. Install Peel & Stick Wallpaper (Yes, Even for Renters!)
Peel & stick wallpaper is the definition of low risk, high reward. It goes up clean, comes down clean, and lets you go bold without commitment. It’s quick, renter-safe, and changes the whole vibe of a space in just a few hours.
Tools & Skills:
- Utility knife
- Smoothing tool
- Measuring tape
Where to Use: Accent walls, backsplashes, entryways
How to Install:
- Measure and cut panels.
- Peel backing and align from top.
- Smooth as you go.
Why It Works: Modern peel & stick wallpaper is renter-safe and comes off clean. Use it to add color, texture, or pattern without permanent commitment.
BROWSE THE WALLPAPER COLLECTION
10. Upgrade with Tambour, Shiplap, or 3D Wall Panels
Flat drywall is fine, but it rarely inspires. Tambour gives you those soft curves that feel mid-century modern, shiplap delivers crisp lines and farmhouse charm, and 3D panels add real depth. They’re straightforward to cut and mount. All it takes is a saw, some adhesive, and a free afternoon.
Tools & Skills:
- Nail gun or adhesive
- Saw (for cuts)
- Measuring tape
Where to Use: Accent walls, kitchen islands, cabinet ends
How to Install:
- Measure and cut panels.
- Apply adhesive and press to wall.
- Finish with trim if needed.
Why It Works: Tambour and shiplap add architectural depth and a tactile finish. Great for modern, coastal, or mid-century design.
SHOP ALL GRILLES & PANELS

11. Easy Wood Veneer Restoration
I’ve rescued more scratched-up tables than I can count with wood veneer. Instead of sanding down to nothing or living with chips, you apply a thin sheet of real wood and trim it clean. Veneer is affordable, forgiving, and one of the best-kept secrets in furniture restoration.
Tools & Skills:
- Veneer sheets
- Contact cement
- Utility knife or veneer saw
Where to Use: Tables, cabinet doors, drawer fronts
How to Install:
- Cut veneer to size.
- Apply adhesive to surface and veneer.
- Press and trim edges.
Why It Works: Revive damaged furniture or create an entirely new look with real wood veneer—a fraction of the cost of replacing the whole piece.
BROWSE WOOD VENEER
Ready to Start Your Weekend Project?
Whether you're fixing up a family heirloom, adding storage in your rental, or making your home feel more "you," these moderate-skill projects deliver maximum payoff for minimal time and money. And at Van Dyke’s Restorers, we have the vintage materials and hardware to make it happen.
Don’t forget to tag us in your before-and-after projects. We love seeing how you bring character, charm, and craftsmanship into your homes.